Raise the roof.

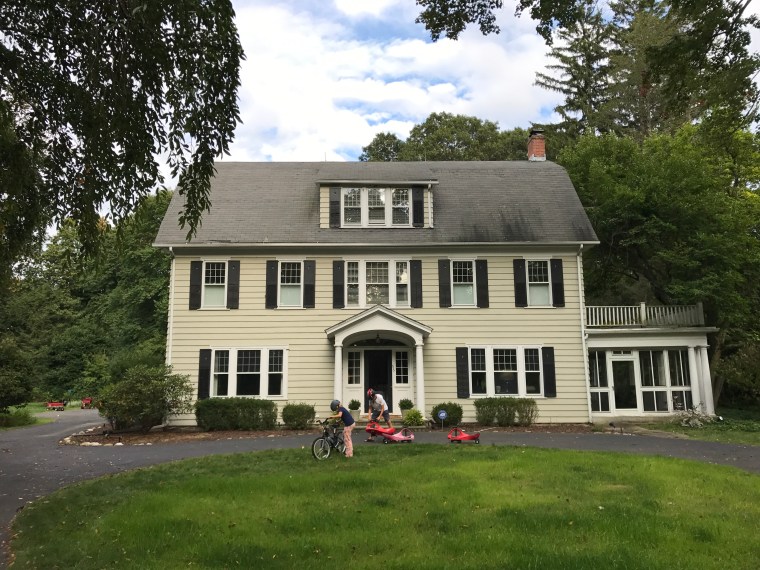
Beautiful.  Exciting.  Necessary.  At inspection we were told two years (at most) left in the existing roof.  A wild summer wind storm created a bald spot and shingles scattered in the yard, so yet another low priority project takes precedent over a fun one!

Even after several homes and many home improvements, this was our first roof project.  After (exhaustive) research, some things I learned and questions to ask of roofers (or contractors) you interview.

  1.  Licensed and Insured?  Ask for proof.
  2. References?  Request several and check them.
  3. How long have the employees worked for the company?  If the answer is more than several years, you’ll know the contractor likely pays their crew a fair wage and has good business practices.
  4. Shingle type?  Color and style should be up to you, but every roofer should have a preferred brand.  Ask them what they use and why.  If the roofer says, it doesn’t matter, think again.
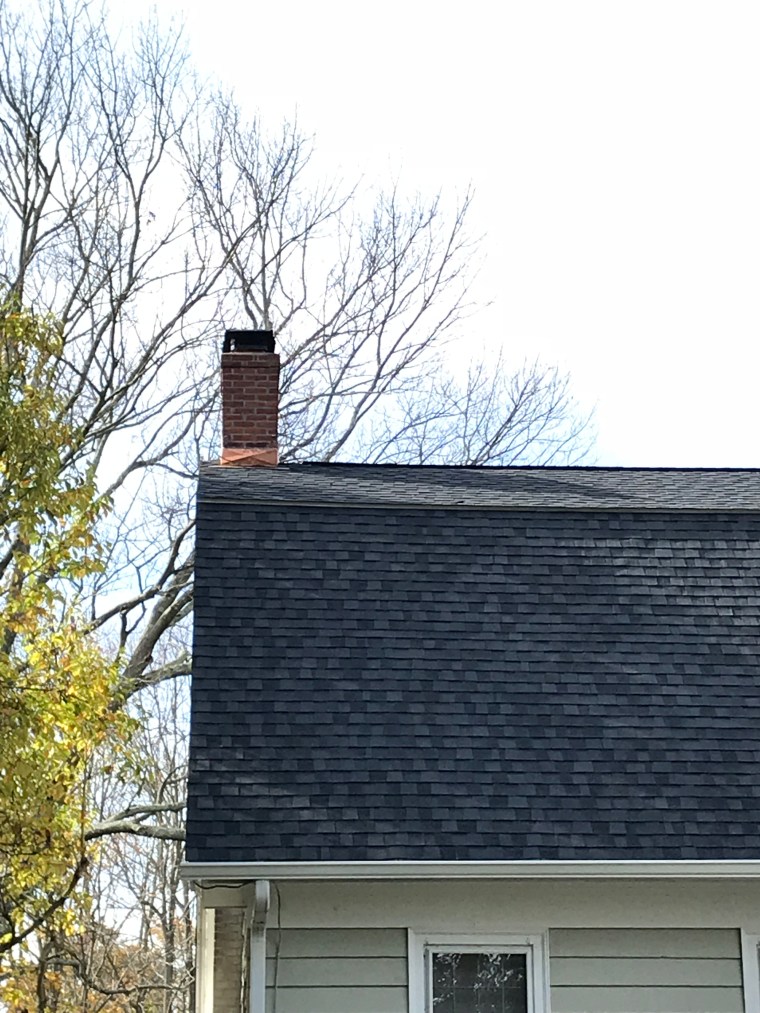
  5. How many feet of ice and water shield?  Check local code (your roofing contractor will know), but more is better in snowy regions.  We added extra above the dormer window due to the low roof pitch.
  6. Itemize it!  Request an itemized estimate.  Chimney flashing and gutters may not be included and should be inspected (and if necessary replaced) during the the roofing process.
  7. Clean up.  Roofing is messy.  Nails, asphalt, tar and more.  Ask what the contractor’s protocol is for clean up.  A magnetic roller is the only way to guarantee a thorough job.

Glamorous, no, practical yes!  Process and finished product below.  And yes, highly recommend Chris from Able Roofing.

IMG_2180
25 years shingles more than 25 years old.
IMG_2443
Ice and water shield to meet local code. Extra coverage on the flat part of the gambrel and above the dormer to prevent ice damming.
IMG_2703
Original lead flashing works well until it is moved or repositioned when shingles are replaced. New copper flashing in place.
IMG_2704
For a gambrel roof, two pitches come together. Shingles should never be folded over, a ridge needs to be built. In this case copper was used to create the right divider between sections.
IMG_2490
The finished product. If you look closely you’ll see the missing shutter from the same wind storm that precipitated the roof project. Add that to the list.

Ring for service. 

In the center of the Dining Room floor, a small circle opening where a button once was. There are several of these around the house. The Living Room and Master Bedroom have the exact sized floor hole.

I asked every tradesperson and service provider who came to the house, no one knew. Our long time trusted electrician immediately said, bell system.  In the early 1900’s an interior bell system was used to summon the domestic help. The buttons were attached to wires that culminated in a central spot where those waiting to serve would be dispatched.

We’ve traced the wires to the basement where the summer kitchen was once in full use. In searching for more information I uncovered a detailed paper on the topic from the Clemson University Historic Preservation and Conservation Commons.  Sadly the buttons and panel were long ago removed, but the wiring is still in tact.


Try as I may, no one answers when I tap my foot over the spot, but it does make for interesting dinner conversation!

Pictured is the completed dining room. In the exact center of the room, an original electrical outlet and the hole where the button once was pushed to signal dinner service.  Imagine the Butler waiting in the pantry . . . now back to reality!

Design and details:

This Dining Room room furniture has served us in every one of our homes. A tight squeeze in our townhouse, these chairs have been reupholstered more than a half dozen times. Come to think of it, time for a refresh!

img_0116

The window treatments were in the Living Room when we purchased. The Dining Room windows happen to be the exact size of those in the Living Room. Good bye cornice, the dupioni silk panels looked like new after a professional cleaning. The clincher, thanks to a talented local seamstress, some amazing new trim and incredible hardware- these drapes have a new identity!  Their “before” state and now.

Last, but certainly not least, we painted the hidden storage closet to be just that- hidden!

More completed rooms and interesting discoveries to come!