A pantry without a butler. 

The doors rattle upon opening and closing. There must be glass beneath the paint and stenciled flowers. Seems strange to paint over glass. No, just old wood said the painter.

As it turns out there was glass beneath, gorgeous 1920’s wavy glass.  One more coat of paint over those pantry doors and their original state would have been lost forever.

So began a labor of love. We had a fixed bid for painting therefore any extra projects belong to me or in this case a team effort shared with my fabulous friend and former house 3 neighbor (she volunteered- I swear).  Using paint remover (be sure to use outside) and razor blades we scraped and scraped. And scraped.

With restored original hardware (thanks to my Dad), fresh paint (thanks to my Father-in-law), and some amazing period wallpaper selected by Molly Hirsch Interiors the roaring 20’s are back.

If only there was a butler to enjoy this.

The original state, process and finished product below:

Lots of original facets including sink, faucet, countertop, light fixture, cabinetry and hardware.

Hidden below years of paint- glass cabinet doors!

Original hardware polished and ready.

The cabinets are painted the same color as the Dining Room- Benjamin Moore Blue Note (more on paint colors here) and completed with a 1920’s archival print wallpaper Schumacher- Featherfest.

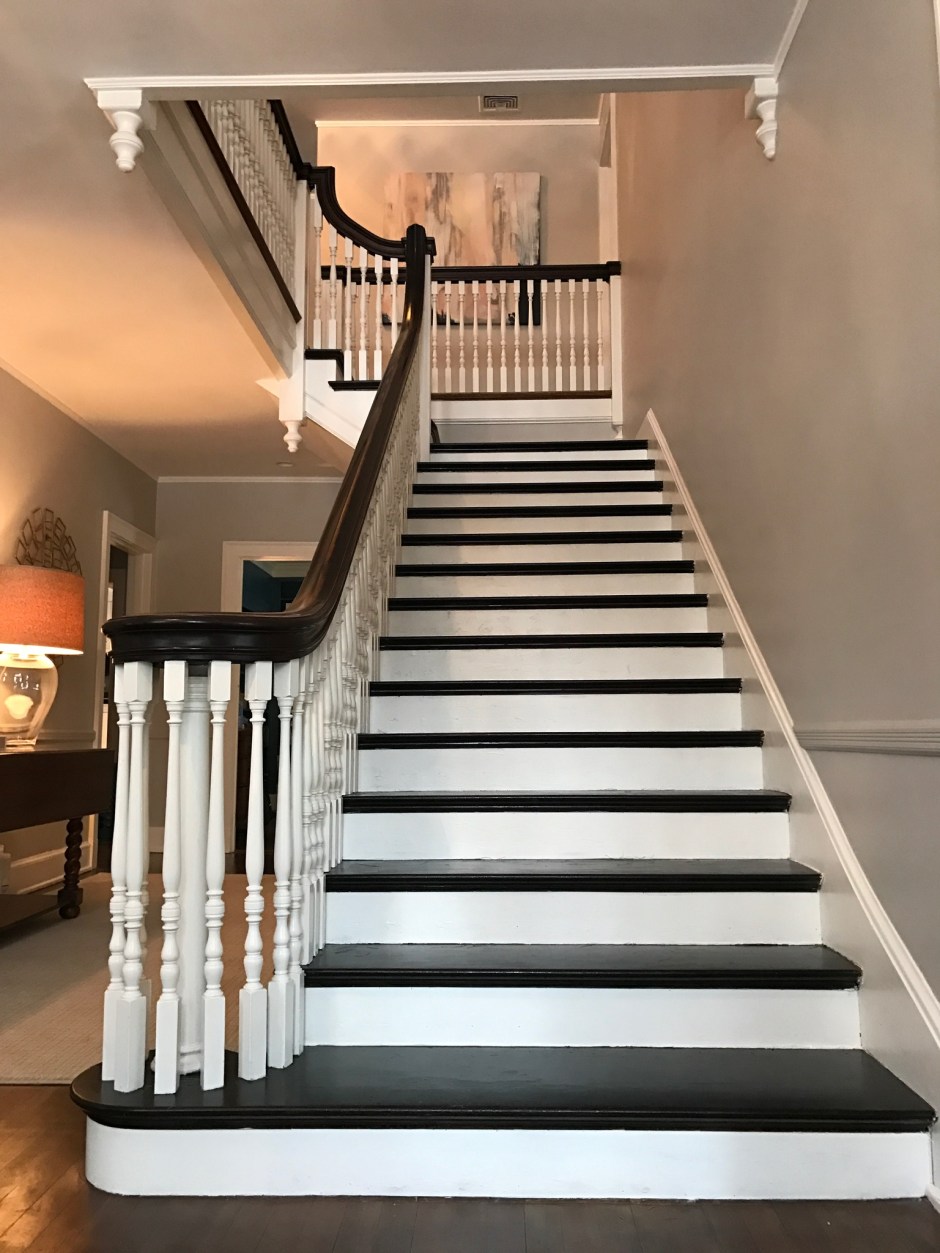
Next:  original details.

Hit the floor. 

Lurking below the white wall to wall carpet- gorgeous fir wood floors.

In my opinion only the truly brave and skilled should attempt sanding and refinishing of floors. In no time a weekend warrior armed with a high powered floor sander could make dust of one of the home’s best features.

After seeking referrals from friends, we selected a highly recommended floor expert with experience in older homes.  Once sanded, decision time- leave their natural color or add a stain to the floors.

Fir is a grainy almost blonde wood. The problem with a clear finish is that due to sunlight and general light exposure the floors tend to yellow over time. We selected a shade of brown that was deep enough to highlight the wood’s natural beauty but not so dark that the floors would show every dust particle (after all the imperfect home has dust).   Testing the stain on a small area is a must. We selected “Special Walnut” a Minwax stain that appeared entirely different on the sample card than on our fir floors, hence the importance of test samples!

For the finish clear coats we opted for a water based, commercial application approved green product sold by the Bona Company.  This alternative is just as durable as its oil based competition, but far more durable for high traffic (think basketball dribbling in the foyer) and allowed us to stay in the house (no fumes). The other benefit- floors can be walked on the same day.

One last thing- the floor refinisher does not want to rip out your wall to wall!  Therefore they charge a significant cost for removal.  Grab some work gloves and a sharp blade- enlist your amazing new neighbor and your father-in-law and get to work!

Minwax Stain Selector

Bona Floor Refinishing Guide

The journey and the results.  Painting and floors were completed simultaneously.  Messy, but efficient and so much easier before the furniture is moved in!

These floors need work!
Significant discoloration.  Is that magic marker?
There is hope for these floors.
Amazing floors lurk below years of wear.
Lots and lots of saw dust.
Transformation underway.

Transformation complete.


Follow Branchville 1923 on Instagram for more photos of the finished product.

Next:  Windows.

Just peachy.

Paint.  The easiest and most economical update, but also one of the most daunting.  We could name each house by the primary color scheme it held when we purchased.  Our small city townhouse, white.  Our first suburban home, beige.  Our second, gold.  And this house, peach (see photographic evidence above).

While we are capable of painting (and in every other house painted the interior ourselves), this 1920’s plaster walled, wallpaper and peach infested space called for help from professionals.

Before World War II, homes in the United States were built with wood lath walls covered with 3 coats of plaster. This process resulted in walls approximately 1 inch thick (compared to the 1/2 inch dry wall of today) that are strong, sound dampening and an R value greater (insulation rating) than dry wall alone.  Preserving and repairing the existing plaster not only maintains the historical significance and authenticity of the home, it is also environmentally responsible.

With that in mind, we hired a painter with the patience and willingness to strip the wallpaper and make the necessary repairs to the existing plaster.  In the case of rooms with 50 year old wallpaper, the walls had sizable cracks and required a tremendous amount of time and attention.  The finished product maintains the feel and quality of the construction, with a fresh and updated look.

This work, although time consuming can be done by any homeowner!  If we endeavored on this ourselves we would just be finishing as the kids set off to college, so I am very happy we hired a painter.  However, if you are brave enough to do it yourself below are two great articles on the process:

removing wallpaper

repairing cracked plaster

The work in process.

Next Up:  Color.

We will never move again.  

No sooner have we completed the final project to make our house a home (cliche but accurate) something happens. Every time.

On this occasion we had completed a lengthy infrastructure update to an amazing mid century ranch when opportunity knocked. Or in this case rang.

During a routine chat my friend (and realtor) asked the question-  would you move again? Hmmm. No. We love our house and have it EXACTLY the way we want it!

Ok. There is one house. In the center of town. Charming. Looks like the Father of the Bride house. Was on the market years ago for far more than we would spend.

That house never sold all those years ago?  And you happen to be listing that house this Spring?  So it begins.

Welcome to Branchville 1923. The story of making a house a home, imperfectly.

Listing photo.